Innovation moves at light speed and product quality has never been higher.
Shouldn’t your production quality control be just as fast and quality just as high?

Is there a measuring system that can give –
- Fast results on free-form shapes and contours?
- Shop floor measurement of turbine blades?
- Precise quality control of medical device manufacture?
- Analysis of non-contactable modern automotive designs?
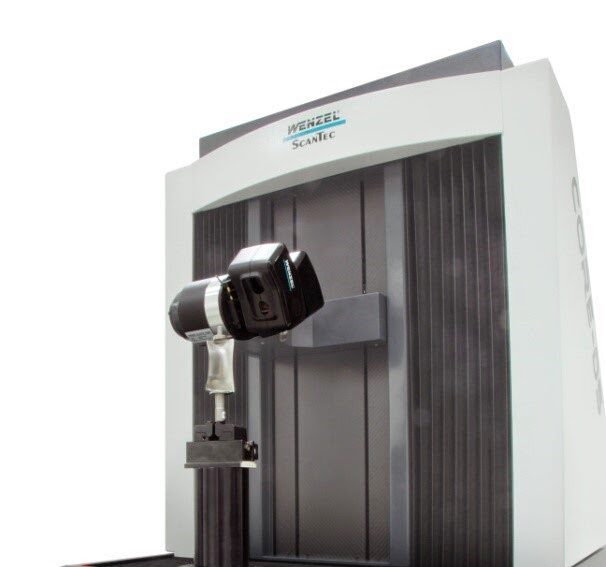
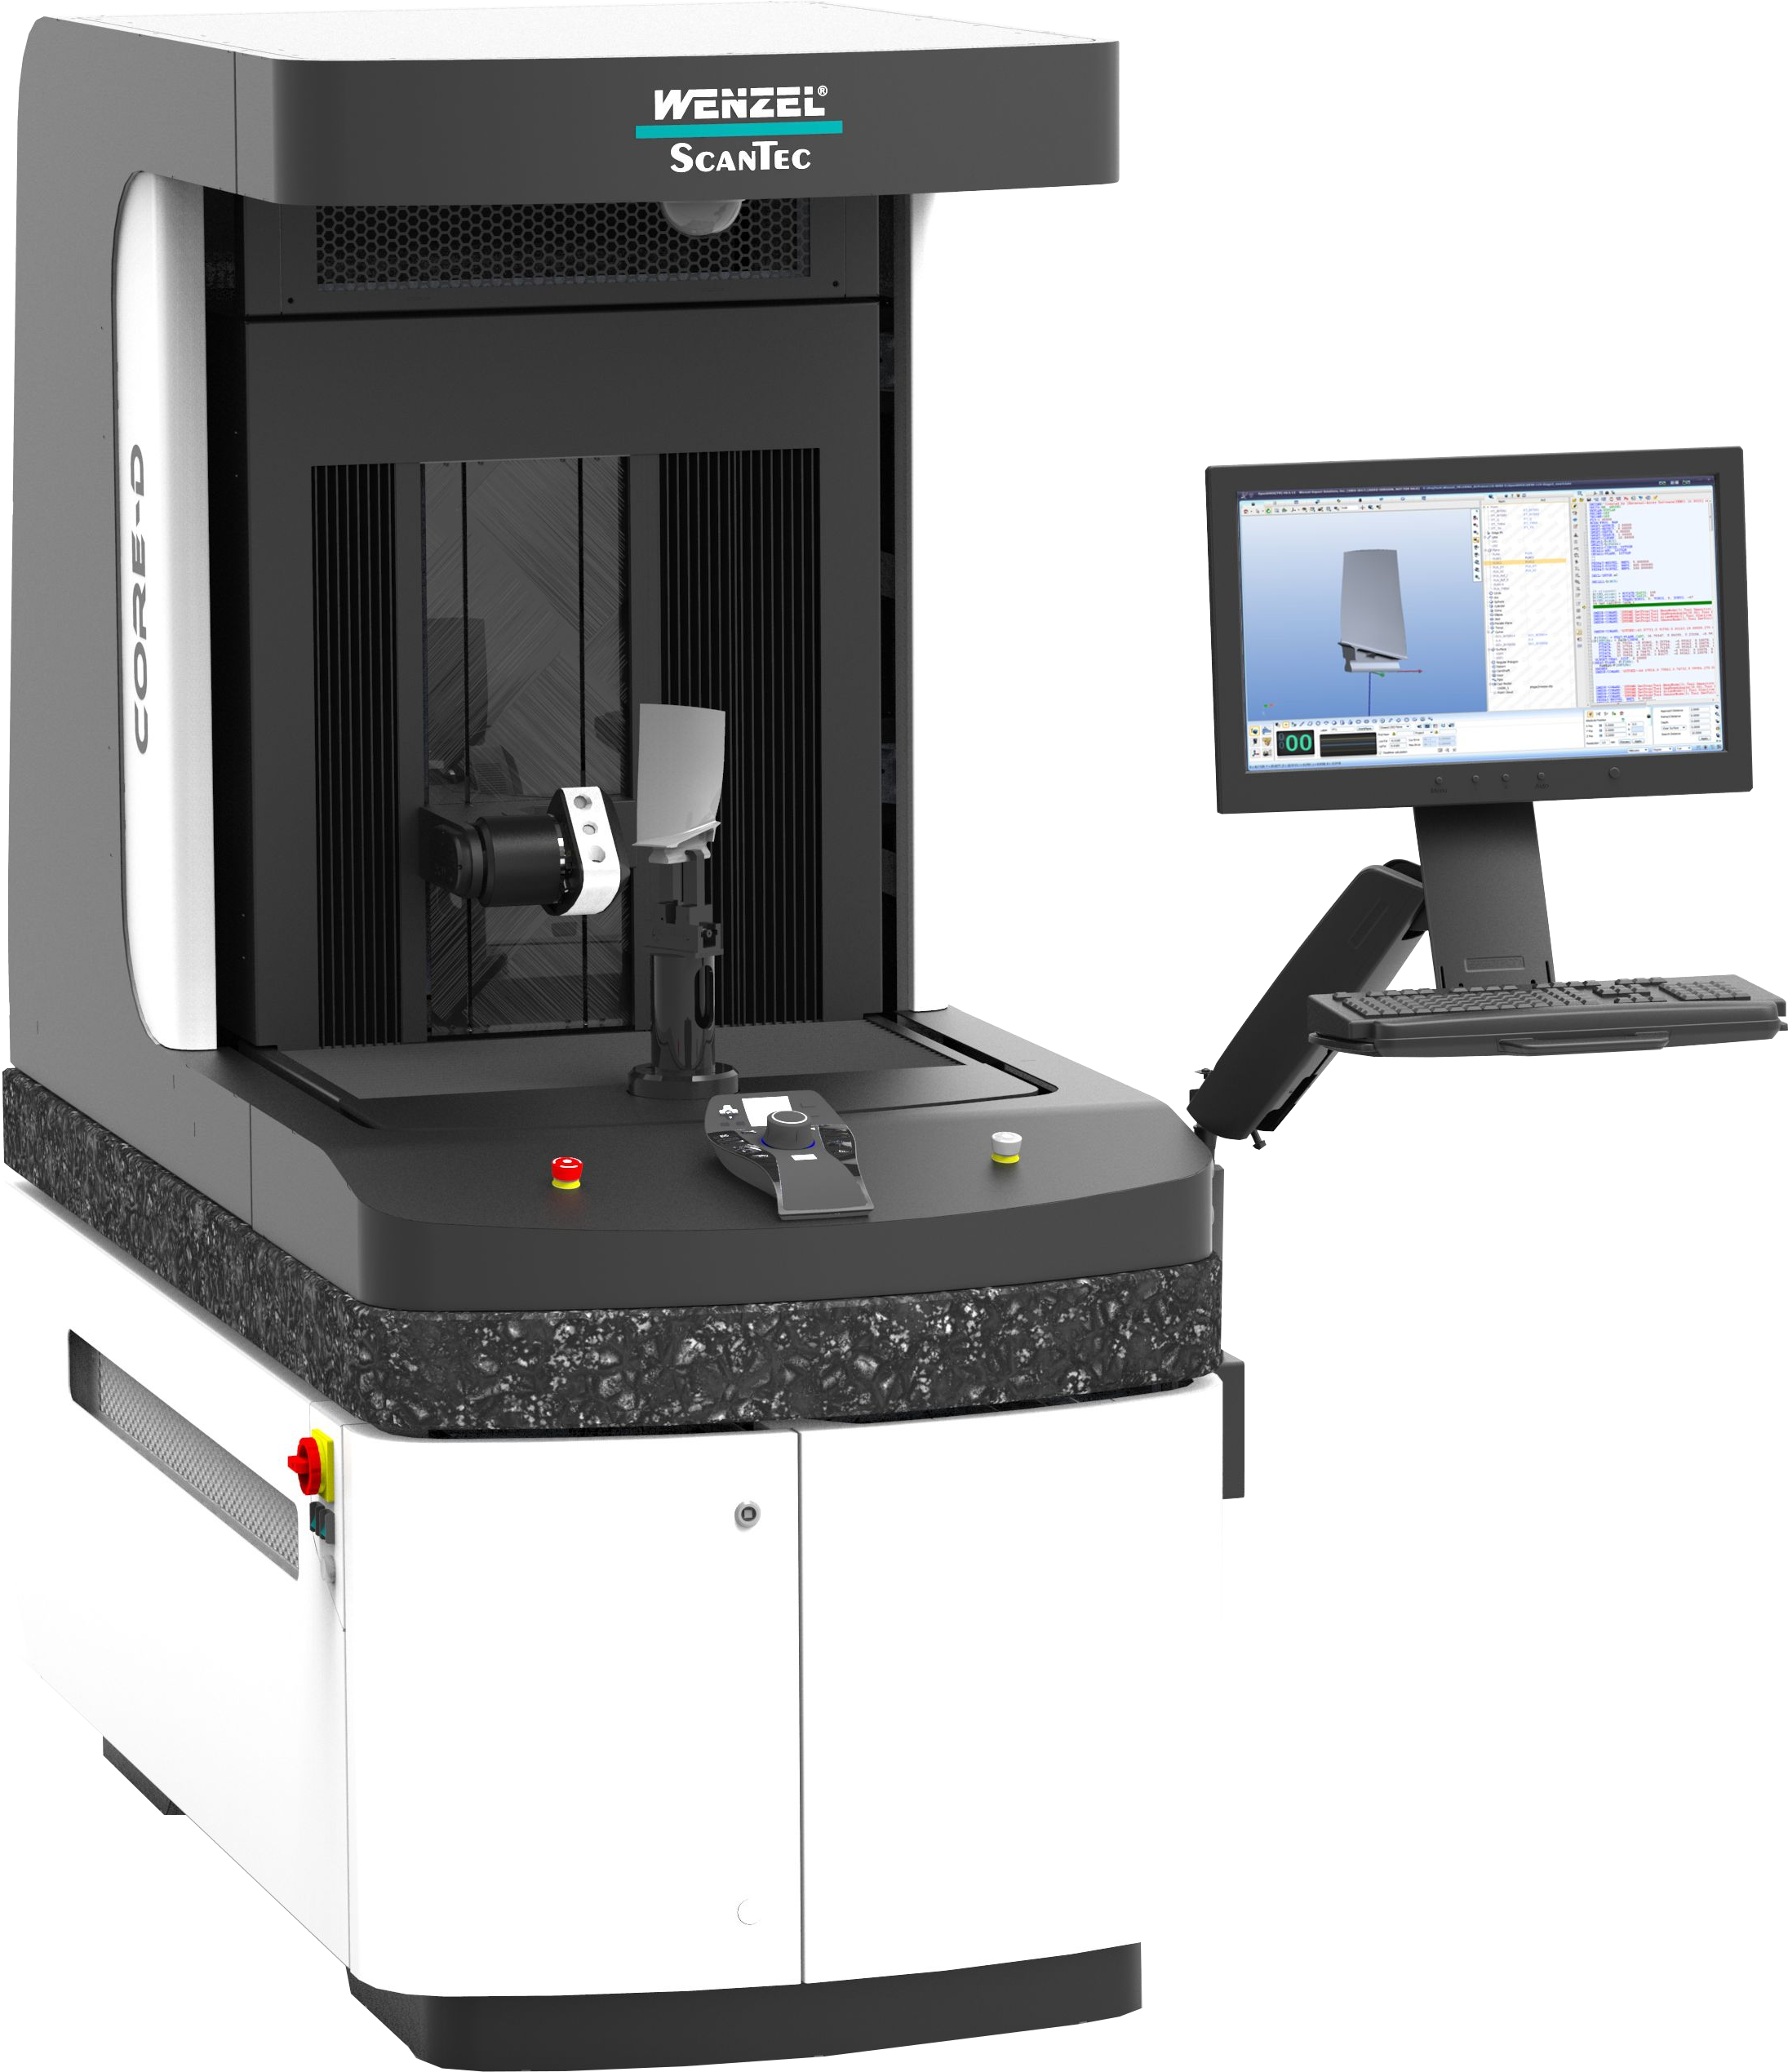
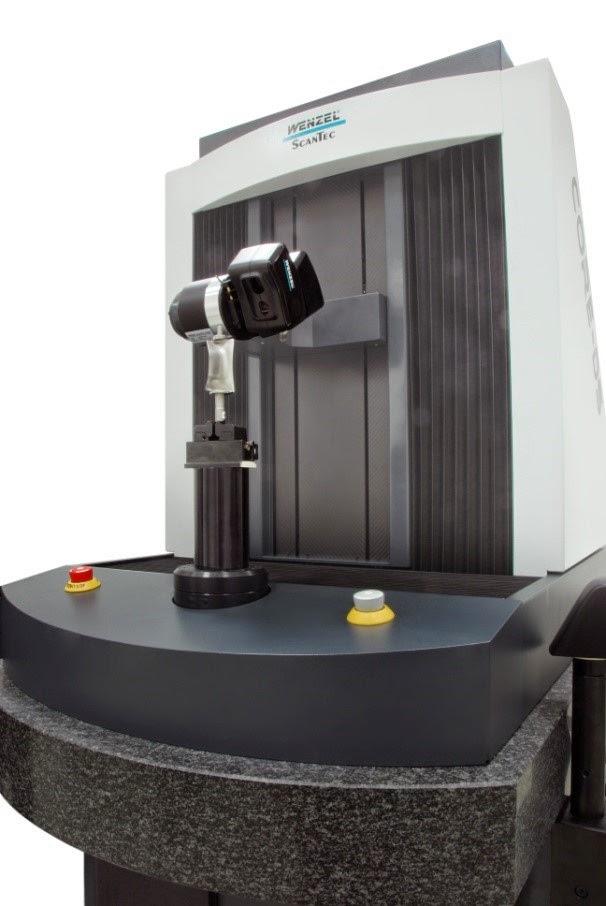
We only know of one. Wenzel’s latest innovation in high-speed 3D scanning services is a combination of two of it’s most advanced measuring technologies – CORE 3D optical high-speed 3D scanning machines plus the PHOENIX structured light projection and image processing sensors. This dynamic duo can capture measurements of complex components directly in production control. The new ‘CORE & PHOENIX’ system solution was presented for the first time in North America at SME’s RAPID 2014.
We interviewed Wenzel America about the power of the newly integrated Phoenix and CORE high speed scanning solution.
Q. What brought about the integration of PHOENIX into CORE?
A. Fast, full-field scanning of surfaces for measurement analysis is becoming more and more popular in industry. There is an increasing demand for very fast measuring results, especially for free form and contours; the logical outcome was to integrate the PHOENIX sensor into the CORE high-speed optical scanning system. We presented this for the first time in North America at SME’s RAPID 2014.
Q. What are the differences of the CORE + Phoenix integration compared to the standard CORE systems with the double eye sensor?
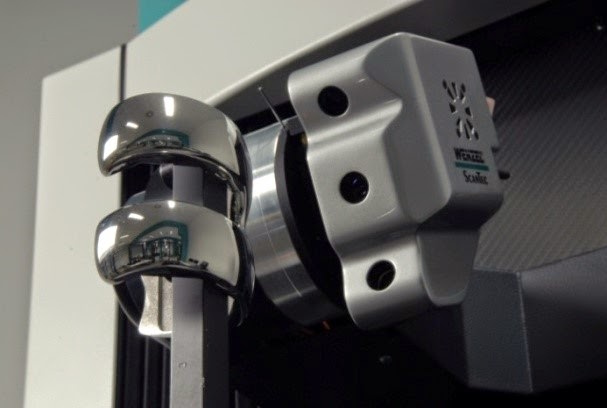
A. The CORE basic system remains the same whether you use double eye sensor or PHOENIX. This means you can use the same CORE machine as the foundation for both applications. The main difference between the sensor heads are their methods of capturing points and the software each uses to analyze and report the captured data points.
Q. Can you describe this more precisely?
A. The PHOENIX is able to digitize the full surface with its measuring field of 30 to 40 millimeters. (Figure 2) For data capture the PHOENIX uses the measuring principle of phase shift by structured light projection. This means the triangulation of several points whereas the measuring principle of double eye sensor is the triangulation of a single point.

Q. What accuracies can be achieved and how is the software connected?
A. Both systems can scan surfaces with very high accuracy. The basic CORE system with double eye sensor has a measuring accuracy MPEp of ±4 μm at nominal value on all surfaces even on polished ones. (Figure 3)
The CORE + PHOENIX gives a measuring accuracy MPEp of 8 μm. Which sensor is used depends on the precision level of the given measuring task.
The two sensors are operated with different application software packages. The double eye sensor is supported by OpenDMIS or WIN3DS – PHOENIX can be used with WENZEL PointMaster. Both application software packages are able to analyze and evaluate complex measuring tasks easily.
Q. What are the advantages of CORE + PHOENIX solution?
A. Principal focus is on high-speed and highly accurate measurement of components in order to ensure a high-speed analysis of production and quality control. This can be done by an Actual – to – Target comparison or by the comparison of single measurements. Using the color map display you can analyze if a component is within the  tolerance range or not, and determine if it is a Pass or Fail object.
Q. The standard CORE is suitable for use in production. Is this the same for the combination with CORE + PHOENIX system?
A. Exactly like the standard CORE with the double eye sensor, the PHOENIX system can also be used on the shop floor. The ability to use this new system there is necessary in order to ensure an inline quality control of components. The PHOENIX sensor allows extremely fast 3D scanning and evaluation of the components’ surfaces to give process control feedback at light speed. The combination system can be put fully into the production line; the measurements as well as the evaluation can be integrated easily due to the automatic scan path generation.
Q. What are the fields of application?
A. The typical standard CORE application fields with double-eye sensor are used for turbine blades and different types of components in the automotive and medical industry. The PHOENIX + CORE application is used in these industries as well, but now enhanced for use on parts with freeform surfaces. One example is with the standard CORE system the measurement of a turbine blade is done by using profile sections. With the PHOENIX + CORE, the entire shape can be analyzed and reported back to the manufacturing processes in quality assurance in a few seconds using target-actual comparison.
Q. How can costs be reduced with this system?
A. The new 3D scanning services give the end user much greater flexibility for different measuring tasks along with greatly increased speed. A single basic CORE system can be in both configurations. Only switching between sensors is required. This innovative, double duty integration greatly reduces costs. Couple that with increased the measurement speed and there is inherently less downtime, increasing production and decreasing costs even more.
Q. Want to find out how the CORE + PHOENIX can help your system?
A. For more information about the CORE series of high speed optical scanning machines contact us here. Find out more about Wenzel America.
