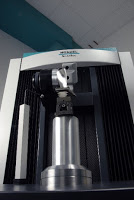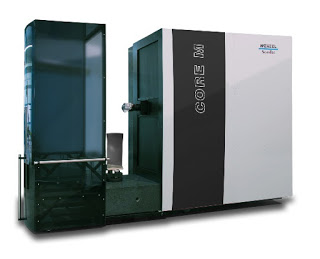
 The Wenzel CORE is the best machine to measure turbine blades, medical implants and any other difficult to measure part with the same awkward characteristics of the blades and knee joints (polished surfaces, sharp edges, tiny features).
Like with any Wenzel Metrology System the key to success is in the structure, the sensor, the speed, the implementation, the support and the accuracy.
Why is the CORE the best?
IT’S IN THE MATH
Here are some numbers for the CORE;
| Accuracy Scanning / movement speed Blade length Cycle time Footprint Calibration time ISO calibration test Shop floor operation Robotic Interface Protocol Axes of operation Access problems for blades Point cloud handling experience needed Point cloud stitching experience needed Point cloud sectioning experience needed Budget for spray paint Budget for CMM room/enclosure Cost of compressed air Tip radius compensation error Maximum out of plane error Max degrees from surface normal Number of cameras in the sensor Number of days training Speed of light Number of minutes you’ll regret buying one?
|
4 to 8 microns 400 to 800mm/s 1″ to 100″ ¼ of that of a traditional CMM ¼ of that of a traditional CMM less than 1 minute 10360 18 to 30 ºC (64 to 86 ºF) 1, TCP/IP 5 or 6 0 0 0 0 $0 $0 $0 0 microns 0 microns 85 2 5 671,000,000 miles/hourZero (0) |

CORE is a shop-floor, optical CMM which we say “measures at the speed of light”. If fact, the CO at the start of the product name is a corruption of Cₒ, the symbol for the speed of light in a vacuum.
If you would like more information about the CORE, watch our video presentation below and then contact us for your free time study and gage R&R test.
