Today you can literally buy hundreds of different models of scanners – here are some of the initial choices you have:
- Contact or non-contact?
- White (structured) light, laser or CT?
- Hand-held or attached to a device with a coordinate system
Contact or Non-Contact?
Most often the choice is determined by 3 factors:
- Cost
- Accuracy
- Point density relative to patch size to be scanned
If you already have a CMM, then adding a scanning probe like Renishaw SP25 is relatively cheap.
If you need the data you collect to be accurate to in the region of 5 microns (2 tenths of a thou) then you need contact – if you don’t need this accuracy then a light or x-ray based scanner may well be ok.
If you need very high density of points to define a surface and/or your patch is large, then contact scanning is likely to be too slow. If you only need to scan surfaces occasionally then a contact scanning system may be ok.
White Light, Laser or CT?
The differences between these three non-contact systems are thoroughly covered in the other article on this month’s blog. It will give you all the data you need to determine the best choice for your specific need.
Whether your need is data dense point cloud gathering, reverse engineering or part inspection. We focus on our machines but the information is universally applicable.
You can check the article out here:
CT Scanning vs. White Light Scanning vs. Laser Scanning
Hand-held or attached to a device with a coordinate system?
Hand held systems tend to be lower cost solutions, but the accuracy of the data obtained is very reliant on extremely competent software to ‘stitch’ or ‘register’ the point clouds collected together.
Accuracy can be improved by fixing targets to the parts so that each data set can be positioned relative to these targets. Adding targets and extra time (and money) post processing the data can make the costs of such a system higher than first envisioned.
There also is no base coordinate system from any kind of machine supporting the scanner, so accuracy and integrity of the data gathered and surfaces produced depends on target fitting and software manipulation.
Laser scanners are commonly mounted on flexible arm CMM machines (Like Faro or Romer). The data is always collected in reference to the coordinate system of the arm. Arms like this are not as accurate as a CMM machine (like a Wenzel frame) but in a lot of applications it can be perfectly good enough. Software manipulation may still be needed to smooth and blend joints in patches, however.
How Wenzel approaches point clouds
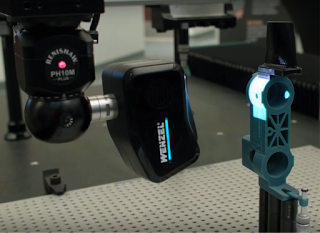
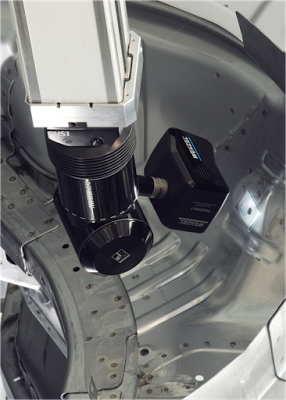
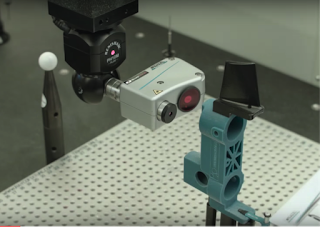
At Wenzel we like to produce CMMs of high accuracy and in the scanning world we sincerely believe that the best way to collect point clouds where you really know that the points you collect are ‘real’ is by mounting your scanner on a stable CMM. That’s our sweet spot.
For small parts this can be a bridge type machine or for larger parts (like automotive sheet metal and plastic or foam trim parts) we offer great value horizontal arm machine or many different configurations.

 Phoenix Sensor on Bridge CMM
Phoenix Sensor on Horizontal Arm CMM
Shapetracer on Bridge CMM
 At Wenzel – we believe in collecting data with scanners mounted on an accurate CMM frame. This way you can be sure the points you collect are ‘real’ and have little need of stitching (registration) by a CAD software.
