CORE M
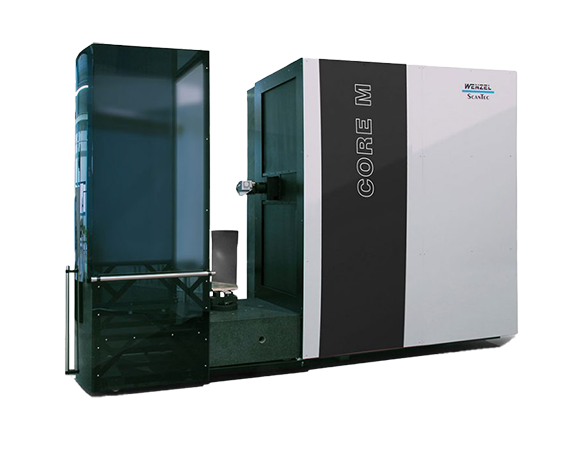
CORE M is a 6-axis, optical CMM system ideal for measurement of medium to the largest turbine or fan blades or any other parts with polished, reflective surfaces and sharp edges.
Measurement at the Speed of Light
The CORE M can measure a variety of surfaces, all which are measured with a unique, “double-eye” sensor which ensures good point accessibility and even collects reliable data with the axis of the light beam up to 85 degrees to the surface normal.
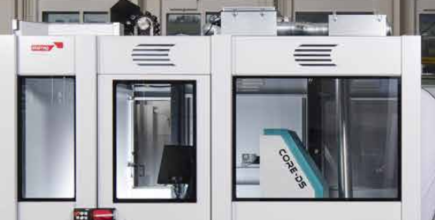
The new generation of CORE M has a cover which is closed during the measurement cycle ensuring perfect optical, thermal and clean conditions. The CORE M is shop-hardened and occupies a relatively small footprint.
The CORE M can also be calibrated to ISO standards just like a CMM. This machine has a measurement volume of 500 mm x 500 mm x 2500 mm and is therefore ideal for the measurement of large components. Within the machine’s enclosure there is a system of dynamic balancing weights that counteract the forces generated by the high speed movement of the scanner ensuring no loss of accuracy even at very high measurement speeds. Our comprehensive software package enables easy and fast evaluations on blades with blade analysis software developed in conjunction with industry partners.
Benefits of the Core M
- Specialist applications, the best machine for the job: ideal for Turbine blades, medical parts and other parts with similar features.
- Speed, because time is money: 5-axis, high scanning speeds and no part preparation or spraying needed.
- Shop floor, close to production: small footprint, protection from environment and built for automation.
- Flexibility to get you the solution YOU need: range of sensors and configurations and internal blade reporting or export in many formats. Can measure parts with dull or shiny finish.
- Reliability of results, an optical machine you can trust: no cosine error, no out-of-plane error and optical system with known uncertainty (ISO 10360).

